How do I apply a Below-Knee Sleeve onto my prosthesis?
Application
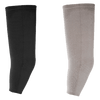
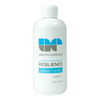
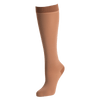
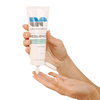
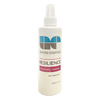
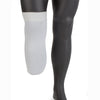
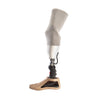
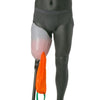
Most BK sleeves work best when applied as high as possible on the thigh extending past any prosthetic supplies. This guarantees maximum surface area for your BK sleeve to adhere and spread the load of your prosthesis over a greater area. If skin irritations occur, they usually are in the form of a rash which is attributed to when the sleeve is not regularly washed or pulled onto the thigh. Read our Helpful Tips & Tricks for resolving skin irritation along the top of your thigh. Neoprene or knitted sleeves can generally be put in a washing machine and dryer. Gel and silicone sleeves must be hand washed and air dried. If irritation occurs you can apply a light coating of Resilience Prosthetic Salve underneath the top edge of your BK sleeve.
Step by step guide:
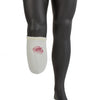
Step 1: Reflect sleeve half way and sprinkle a little talcum powder.
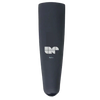
Step 2: While maintaining your patience, determine the front of the sleeve and start stretching your half reflected sleeve over the socket brim.
Step 3: Begin rolling and working the reflected half of your sleeve over your socket.
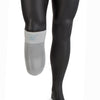
Step 4: Once your sleeve is fully installed, begin rolling your sleeve from the top down to a level below your socket's trimelines. When you're done it should look like a floating tube or a donut.
Step 5: Now your prosthetic limb is ready for you to place your residual limb inside of and begin rolling your sleeve upward.
Step 6: Your done!
Related Prosthetic Sleeve Articles:
- The Complete Prosthetic Suspension Guide
- What is the difference between Vacuum and Suction suspension systems?
- Which prosthetic sleeve features are important to amputees.
- Prosthetic sleeves that offer the longest life.
- Helpful tips for your prosthetic sleeve
- How-to protect and care for suspension sleeves.
- Prosthetic Sleeve Materials Primer

