


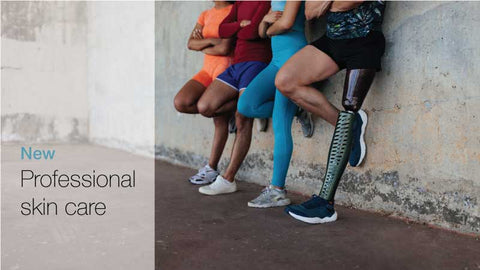


Prosthetic Rehabilitation for Lower-Limb Amputees

After amputation surgery, many amputees begin rehabilitation within 10 days, while some start using a preparatory prosthesis within 14-21 days. At this point, the goal of rehabilitation is to gain independence, start the process of limb maturation and work on strength and balance activities.

Before any rehabilitation program can begin, your healthcare team will conduct a thorough assessment, including evaluating your residual limb, assessing your functional level before surgery, existing medical conditions, and physical capabilities, as well as your expectations.
Pre-prosthetic exercises
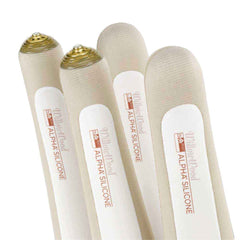
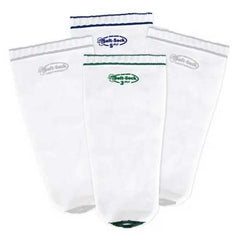
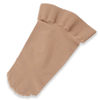
What are pre-prosthetic exercises? Those that recently experienced limb loss will follow an exercise regimen to prevent loss of muscle and range of motion. These exercises typically prescribed by your physical therapist are intended to prevent injury by improving balance and strength and reducing pain, all while preparing your body and residual limb for your first prosthesis. Expect to work on your core and arm strength, along with those mentioned above. Pre-prosthetic exercises can lessen the occurrence of future prosthetic gait deviations.
The remainder of this article will take you through some of the exercises provided by your rehabilitation team once you receive your first prosthesis.
Rehabilitation exercises before learning to walk
Lateral weight shifting
This exercise allows you to shift your weight from your sound side leg to your prosthetic side while standing between parallel bars for support. Lateral weight shifting helps you contract your glutes as well as the muscles in your residual limb to stabilize.
Forward and back weight shifting
This exercise is beneficial for orientation and balance. It’s similar to lateral weight shifting (see above), but instead of shifting sideways, the body weight is moved forwards and backward. One way to track your progress with this exercise is the eventual reduction of hand support.
Stepping up
This exercise helps improve your single-leg stance. Start with a stool that’s approximately four to eight inches in height. One way to track your progress is by increasing the height of the step or reducing hand support. Furthermore, as you become more confident and your weight-bearing improves, you will be able to step your sound side leg slowly and with more control.
Balance board
This is another exercise that can improve your balance and weight-bearing. With a balance board, you’ll be able to shift your body weight side-to-side or forward and back. You will begin by performing this exercise in between parallel bars for hand support. Reduction of hand support is a great way to measure your progress.
Ball rolling
This exercise improves your balance and posture. You will initially need to perform this exercise between two parallel bars for support.
When you’re undergoing your rehabilitation program, remember that your progress depends on your body’s healing timeline. You don’t need to push yourself to try harder. Just do your best and listen to your body. You will eventually get to where you want to go.


