How to Build an Amputee Survival Kit - A Complete Checklist
Your residual limb is dynamic and continuously changing throughout the day. Its volume constantly fluctuates, and because it has to contend with the warm, moist, and dark environment of your prosthetic socket, it's prone to blisters, chafing, calluses, muscle cramps, and pimples, among other skin maladies.
However, as a prosthetic user, you are not limited to taking care of your residual limb. You also need to worry about the care and maintenance of your prosthetic limb—a sophisticated mechanical device that has parts that wear out, become damaged and even fail.
How do you address this two-pronged problem? Have an “Amputee Survival Kit” with you always.
What is an amputee survival kit?
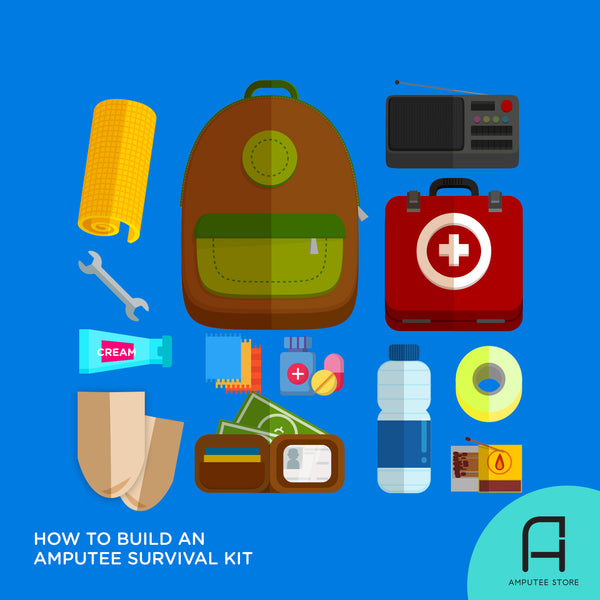
An amputee survival kit is your collection of products and tools that keep you comfortable and mobile. It should also be easy to carry around since you can’t afford to be caught empty-handed in a prosthetic emergency.
It’s best to prepare a few amputee survival kits. You can have one at home, one in the glove box in your car, one in the office, and another to bring with you when you’re on-the-go.
A basic amputee survival kit
Everyone has varying needs, which is why there is no one-size-fits-all kit. However, a basic one should contain tools that can help anyone regardless of their level of amputation. Here are some of the issues that your survival kit should be able to help with.
Hygiene
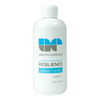
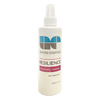
Maintaining prosthetic hygiene on-the-go is essential to prevent skin irritation and injuries. Prosthetic wipes, such as the Amputee Essentials Resilience Shower Wipes, can keep your skin and prosthetic liner clean. These wipes are formulated with tea tree oil, which can help fight odors and infections.
If you've ever experienced a prosthetic liner lock malfunction and found yourself trapped in your prosthesis, you'll appreciate this next one. Include a small bottle filled with soapy water in your kit. In case your lock fails, you can pour this foamy mixture into the top of your prosthetic liner while you slither out. This DIY tool will help you safely remove your prosthesis, liner, and all.
Sweating
Excessive sweating is common, especially for new prosthetic users. But even long-time users are still prone to sweating because many liners and socks are not designed to wick away sweat and moisture. And harboring sweat and moisture makes your prosthetic socket a breeding ground for bacteria.
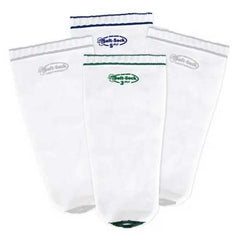
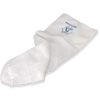
Fight sweat (and prevent the growth of odor-causing bacteria) by making sure that a prosthetic antiperspirant and an extra set of moisture-controlling prosthetic socks, like the Knit-Rite Liner-Liner Prosthetic Sock with X-Static, are always within reach.
Rubbing and chafing
Rubbing is inevitable for prosthetic users. However, the pain caused by friction-related chafing should be avoidable. You can keep your friction-prone areas safe from chafing and other skin irritation by keeping a prosthetic salve, lubricant, or liner patch nearby.
For your on-the-go travel bag, consider adding a stick of Ampu-Balm Prosthetic Balm in your travel bag. This is a no-mess, quick solution to preventing raw skin and chafing.
Blisters
For blisters or any open areas, keep the Spenco 2nd Skin Blister Kit handy. It relieves the pain caused by blisters or any skin abrasion. It can also be used to prevent skin irritation by covering any affected area with a thin skin-like application.
Above-knee amputees may benefit from products like Tegaderm and Accuderm along areas that are susceptible to high friction or where Spenco 2nd Skin may slough off.
Prosthetic fit
Prostheses that don’t fit well can be fixed with a few tools that you can include in your amputee survival kit, such as the Amputee Essentials Calibrate Socket Adjustment Gel Pads, prosthetic socks, or a Silipos Mineral Oil Gel Roll On.
Each of these products allows you to create either extra cushion, tighten a loose socket, or create a pressure relief void.
Pressure
You can relieve pressure points with calibrate pads or a DIY approach that involves an old prosthetic sock and a pair of scissors.
For the DIY temporary socket adjustment trick, it’s best to use an old, 5-ply sock (the thinner the sock, the less relief it brings). Pull the sock onto your residual limb. Draw a circle around the affected area with a pencil. Remove the sock, then proceed to cut a hole—about half the size of what you drew.
Put the sock back on; the hole should stretch nicely and give your problem area plenty of relief. If not, carefully open up the gap a bit more. However, watch out if the hole gets too big as it may no longer provide the intended relief.
If you decide to cut a hole in an old sock, it's best practice to contain this socket between sock ply. For example, if you wear two layers of socks, make sure to add this modified sock as either the first sock or in-between socks.
Many people also carry a Silipos Distal End Pad to relieve sore residual limbs along the bottom from the constant pounding of a loose socket. A distal end pad can help accommodate volume loss after a hard workout or a sweltering summer day.
Extreme unforeseeable issues
To customize your amputee survival kit, you need to think of every possible issue that you might face. Too often, after months of reliable service, you may find that your suspension system isn't functioning correctly. So, having a second suspension above-knee belt or a neoprene below-knee leg suspension sleeve in your car may come in handy.
Other tools you might want to include in your kit
Just so you’re prepared for every emergency, you might want to include the following items in your kit:
-
A small towel
-
Duct tape for easy and temporary repairs.
-
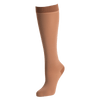
Prosthetic shrinker socks
-
Topical antibiotic cream to treat pimples or minor sores
-
Pain killers
-
4mm wrench for minor adjustments or repairs

